
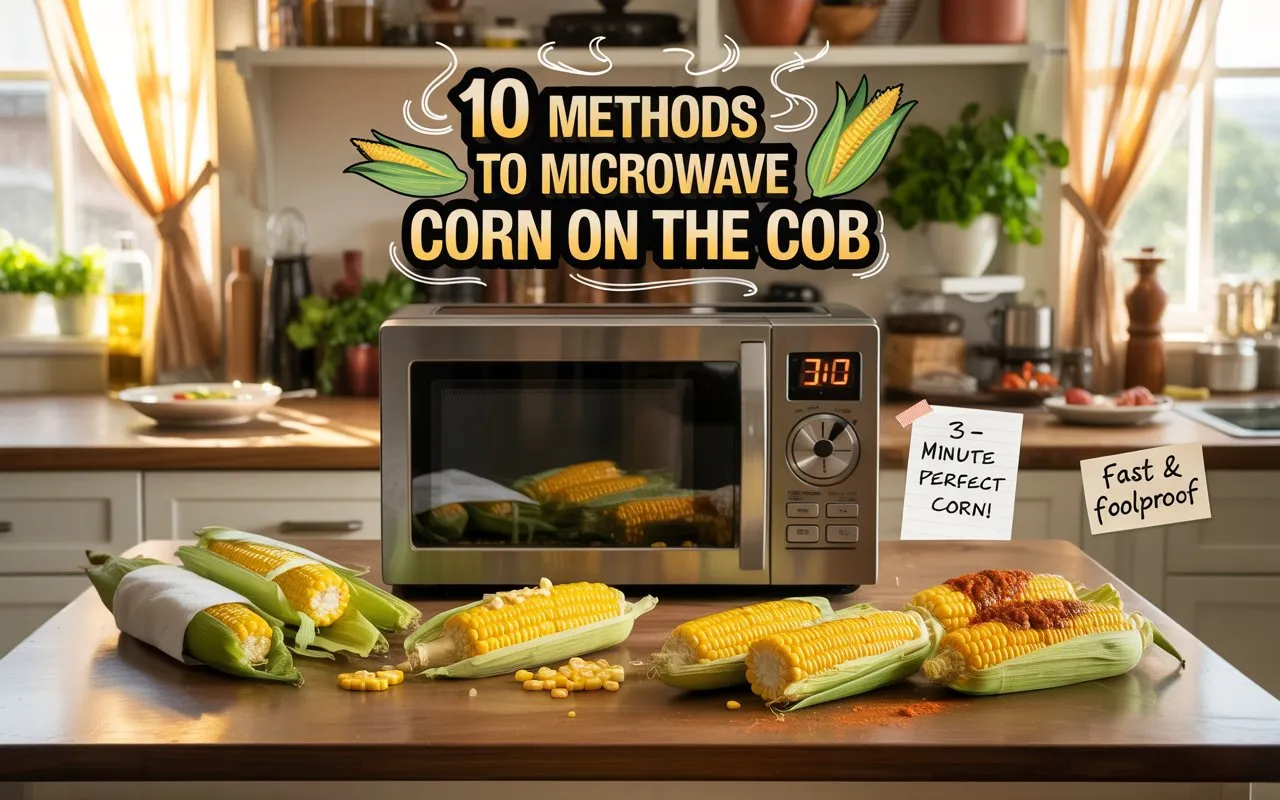
Here’s a curated list of 10 methods to microwave corn on the cob, combining practicality, safety, and flavor:
1. Whole Corn in Husk
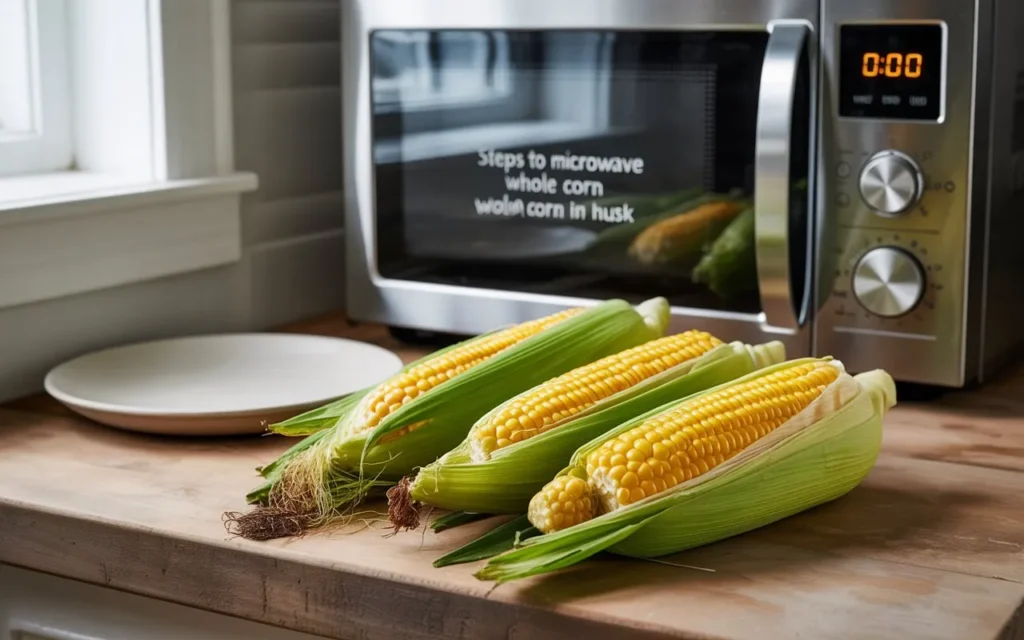
Here’s a detailed guide for cooking whole corn in the husk in the microwave—a quick, mess-free method that uses the husk’s natural moisture to steam the kernels to perfection:
Steps to Microwave Whole Corn in Husk 🌽
- Prep the Corn
- Leave the husk and silk fully intact (do not peel or rinse).
- If the husk is dry, lightly spritz the corn with water to add moisture (optional but helpful).
- Microwave
- Place 1-2 ears directly on the microwave turntable or a microwave-safe plate.
- Cook on high:
- 3-4 minutes per ear (e.g., 1 ear = 4 minutes, 2 ears = 6-8 minutes).
- For multiple ears, space them apart to ensure even cooking.
- Rest
- Let the corn sit in the microwave for 1-2 minutes after cooking.
- The husk will be extremely hot—use oven mitts or tongs to handle.
- Shuck
- Slice off the bottom 1 inch of the stalk end with a knife.
- Squeeze the top of the ear and gently push the corn out of the husk (the silk will slide off effortlessly!).
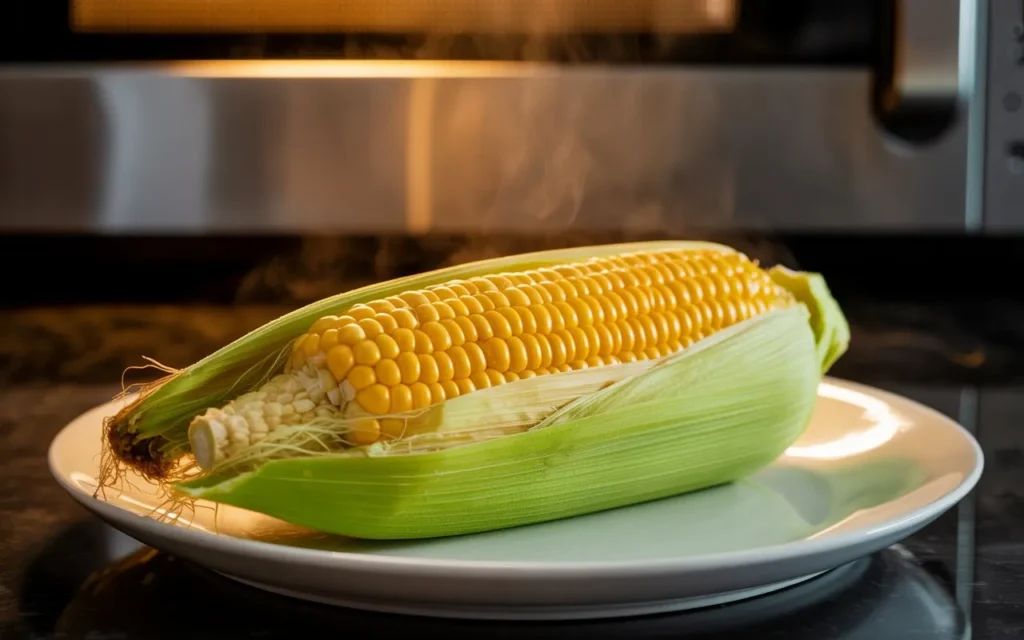
Why This Works
- The husk acts as a natural steam chamber, trapping moisture to cook the corn evenly without drying.
- The silk sticks to the husk (not the kernels) when cooked this way, making cleanup a breeze.
Pro Tips
- Test doneness: Kernels should feel tender when pressed. If undercooked, microwave in 1-minute increments.
- Add flavor: After shucking, brush with butter, sprinkle with salt, chili powder, or lime juice.
- Large batches: Cook 2-3 ears at a time, but avoid overcrowding.
Common Questions ❓
- “Will the husk catch fire?”
No! The husk contains enough moisture to steam safely. - “Can I reuse the husk?”
Yes! Save husks for tamales, grilling, or compost.
This method is ideal for lazy cooks or anyone craving fast, sweet, juicy corn without boiling water or firing up the grill! 🚀
2. Damp Paper Towel Wrap (Shucked)
Here’s a step-by-step guide for the Damp Paper Towel Wrap (Shucked) method—a fuss-free way to microwave corn without the husk while keeping it tender and juicy:
Steps to Microwave Shucked Corn with a Damp Paper Towel 🌽
- Shuck the Corn
- Remove the husk and silk completely. Rinse the corn under water to remove any leftover silk strands.
- Wrap in a Damp Paper Towel
- Moisten 1–2 paper towels with water (they should be damp, not dripping).
- Wrap each ear of corn tightly in the damp paper towel.
- Microwave
- Place the wrapped corn on a microwave-safe plate.
- Cook on high:
- 2–3 minutes per ear (e.g., 1 ear = 3 minutes, 2 ears = 5–6 minutes).
- For multiple ears, space them apart to ensure even heating.
- Rest and Unwrap
- Let the corn sit for 1 minute to finish steaming (it will be hot!).
- Carefully unwrap the paper towel (use tongs or oven mitts to avoid burns).
- Season and Serve
- Brush with butter, sprinkle salt, pepper, or your favorite seasoning.
Why This Works
- The damp paper towel creates a steam pocket, mimicking the husk’s natural moisture to plump the kernels.
- Shucking upfront saves time and avoids the messy post-cooking husk removal.
Pro Tips
- Add flavor: Tuck fresh herbs (like cilantro or basil) between the corn and paper towel before microwaving.
- Check doneness: If kernels feel firm, microwave in 30-second increments.
- Large batches: Work in rounds of 2–3 ears to avoid uneven cooking.
Common Questions ❓
- “Will the paper towel catch fire?”
No! As long as it’s damp, the towel will steam safely. Avoid using dry paper towels. - “Can I reuse the paper towel?”
Discard it after cooking—it’s often torn or dried out. - “What if my microwave has lower wattage?”
Add 30–60 seconds per ear if your microwave is under 1000W.
Serving Ideas
- Mexican street corn: Top with mayo, cotija cheese, chili powder, and lime.
- Garlic-parmesan: Brush with garlic butter and grated Parmesan.
Perfect for busy weeknights or when you crave corn fast without the grill or stove! 🚀
3. Pre-Soaked Husk for Extra Steam
Here’s a step-by-step guide for the Pre-Soaked Husk for Extra Steam method—a technique that maximizes moisture retention for ultra-tender, juicy corn by soaking the husk before microwaving:
Steps to Microwave Corn with Pre-Soaked Husk 🌽
- Soak the Corn
- Submerge the unshucked corn (husk and silk intact) in a bowl or sink filled with cold water.
- Let it soak for 10–15 minutes to hydrate the husk thoroughly.
- Drain Excess Water
- Shake off excess water, but do not dry the husk.
- Optional: Poke 1–2 small holes in the husk with a knife to vent steam (prevents splitting).
- Microwave
- Place the soaked corn on a microwave-safe plate or directly on the turntable.
- Cook on high:
- 4–5 minutes per ear (e.g., 1 ear = 5 minutes, 2 ears = 8–10 minutes).
- For multiple ears, arrange them in a circle without overlapping.
- Rest and Steam
- Let the corn sit in the microwave for 2–3 minutes after cooking.
- The residual heat will finish softening the kernels.
- Shuck Safely
- Using oven mitts, slice off the bottom 1 inch of the stalk.
- Squeeze the top of the ear to slide the corn out of the husk (the silk will stick to the husk, not the kernels!).
Why This Works
- Soaking supercharges steam production: The waterlogged husk releases more steam than dry husks, mimicking a stovetop steaming effect.
- The kernels cook evenly without drying out, resulting in plump, sweet corn.
Pro Tips
- Add flavor to the soak: Stir 1 tbsp salt or a splash of vinegar into the soaking water for seasoned kernels.
- Test doneness: Press a kernel through the husk with a towel—if it’s soft, it’s ready.
- Large batches: Avoid microwaving more than 2–3 ears at once to ensure even cooking.
Common Questions ❓
- “Can I skip soaking?”
Yes, but the corn may be slightly less juicy. Soaking guarantees maximum tenderness. - “Will the microwave get soggy?”
No—the husk traps most moisture. If water pools, wipe the microwave afterward. - “What if my corn is small?”
Reduce cooking time to 3–4 minutes per ear and check earlier.
Serving Ideas
- Elote-style: Slather with mayo, sprinkle tajín, cotija cheese, and lime.
- Herb butter: Mix softened butter with chopped cilantro, garlic, and chili flakes.
Perfect for corn lovers who want restaurant-quality tenderness without boiling or grilling! 🚀
4. Cut into Smaller Sections
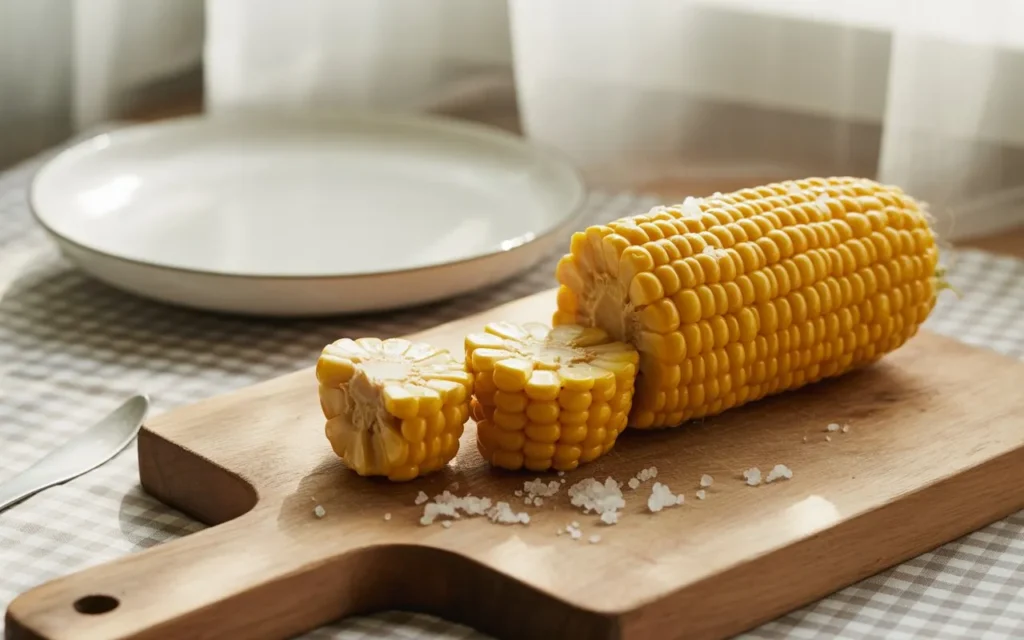
Here’s a step-by-step guide for microwaving corn on the cob cut into smaller sections—a great hack for faster cooking, portion control, or kid-friendly servings:
Steps to Microwave Corn Cut into Smaller Sections 🌽
- Shuck and Prep
- Remove the husk and silk completely. Rinse the corn under water to remove any remaining silk.
- Cut the Cob
- Use a sharp knife to slice the corn into 2–3 smaller pieces (3–4 inches long).
- Pro Tip: Stabilize the cob on a cutting board and slice downward firmly to avoid slipping.
- Arrange on a Plate
- Place the corn pieces in a single layer on a microwave-safe plate.
- Leave space between pieces for even cooking.
- Cover with a Damp Paper Towel
- Moisten a paper towel with water (damp, not dripping).
- Lay it over the corn to trap steam and prevent drying.
- Microwave
- Cook on high for 1–2 minutes per piece (e.g., 2 pieces = 2–4 minutes total).
- For 4+ pieces, add 30–60 seconds and check doneness.
- Rest and Test
- Let the corn sit for 1 minute to finish steaming.
- Check tenderness: Kernels should feel plump when pressed.
- Season and Serve
- Brush with butter, sprinkle salt, or add toppings like grated cheese, herbs, or chili flakes.
Why This Works
- Smaller pieces cook faster due to reduced volume.
- The damp towel mimics steaming, keeping kernels juicy.
- Ideal for small microwaves or quick snacks!
Pro Tips
- Add flavor: Sprinkle smoked paprika or garlic powder before microwaving.
- No paper towel? Use a microwave-safe lid or splatter cover.
- Batch cooking: Store leftovers in the fridge for salads or stir-fries.
Common Questions ❓
- “Can I microwave frozen corn this way?”
Yes! Add 1–2 minutes to the cooking time. - “How to prevent uneven cooking?”
Rotate the plate halfway through microwaving. - “Can I reuse the paper towel?”
Discard it—it may tear or dry out during cooking.
Serving Ideas
- Snack hack: Serve with lime wedges and chili salt for a street-food vibe.
- Salad booster: Slice kernels off the cob after cooking for salads or salsas.
Perfect for busy cooks, small kitchens, or when you want corn ready in minutes! 🚀
5. Butter-Infused Under Husk
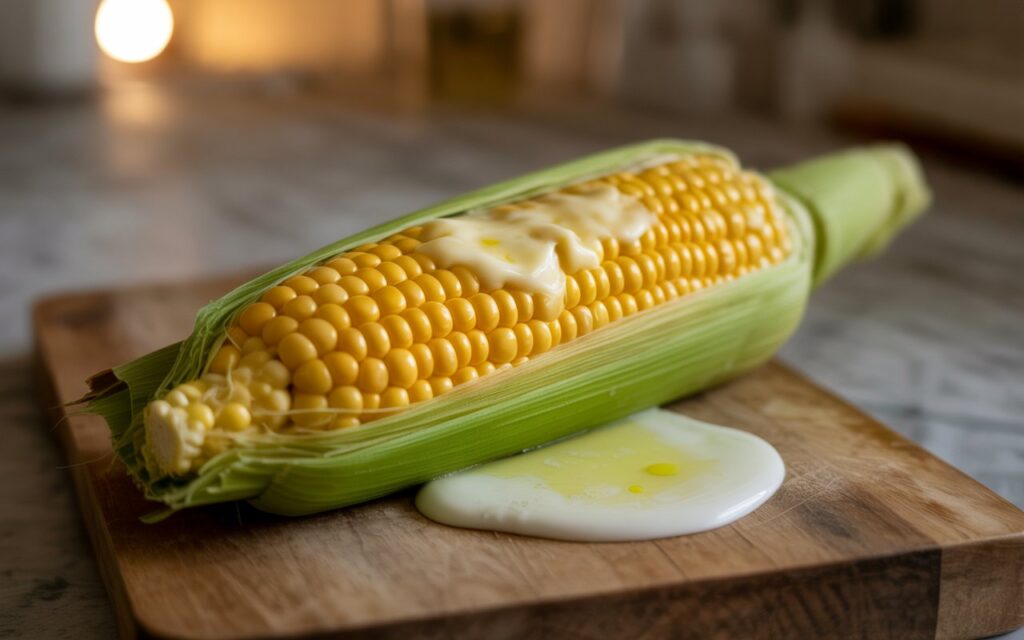
Here’s a step-by-step guide for the Butter-Infused Under Husk method—a flavorful technique where butter melts directly into the corn kernels as they cook, creating rich, savory results without the need for post-cooking seasoning:
Steps to Microwave Butter-Infused Corn Under the Husk 🌽
- Prep the Corn
- Gently peel back the husk from the top of the corn, keeping it attached at the base.
- Remove all silk strands by hand or with a soft brush.
- Add Butter and Seasonings
- Rub 1–2 tsp softened butter directly onto the kernels (use more for extra richness).
- Optional: Sprinkle with salt, pepper, garlic powder, herbs, or chili flakes.
- Rewrap the Husk
- Fold the husk back over the buttered kernels to enclose them.
- If the husk won’t stay closed, secure it with a piece of kitchen twine or a microwave-safe toothpick.
- Microwave
- Place the corn on a microwave-safe plate.
- Cook on high:
- 4–5 minutes per ear (adjust based on microwave wattage).
- For multiple ears, add 2–3 minutes per additional ear.
- Rest and Shuck
- Let the corn rest for 2 minutes to allow the butter to distribute.
- Use oven mitts to peel back the husk (it will be hot!).
Why This Works
- The husk traps steam and butter, infusing the corn with moisture and flavor as it cooks.
- Butter melts into the kernels, eliminating the need for post-cooking seasoning.
Pro Tips
- Flavor boosters: Mix butter with minced garlic, lime zest, or smoked paprika before applying.
- No butter? Substitute olive oil or flavored compound butter.
- Prevent dryness: Spritz the husk with water before microwaving if it feels dry.
Common Questions ❓
- “Will the butter leak out?”
Minimal leakage may occur, but most butter stays trapped under the husk. Use a plate to catch drips. - “Can I use frozen corn?”
Yes! Thaw slightly first, and add 1–2 minutes to cooking time. - “What if the husk splits?”
Cover the corn with a damp paper towel to retain steam.
Serving Ideas
- Garlic-herb corn: Mix butter with chopped parsley and roasted garlic.
- Spicy lime: Add lime juice and cayenne pepper to the butter.
- Cheesy finish: After cooking, roll the corn in grated Parmesan.
Perfect for butter lovers who want restaurant-quality flavor with minimal effort! 🚀
6. Steam in a Microwave-Safe Dish
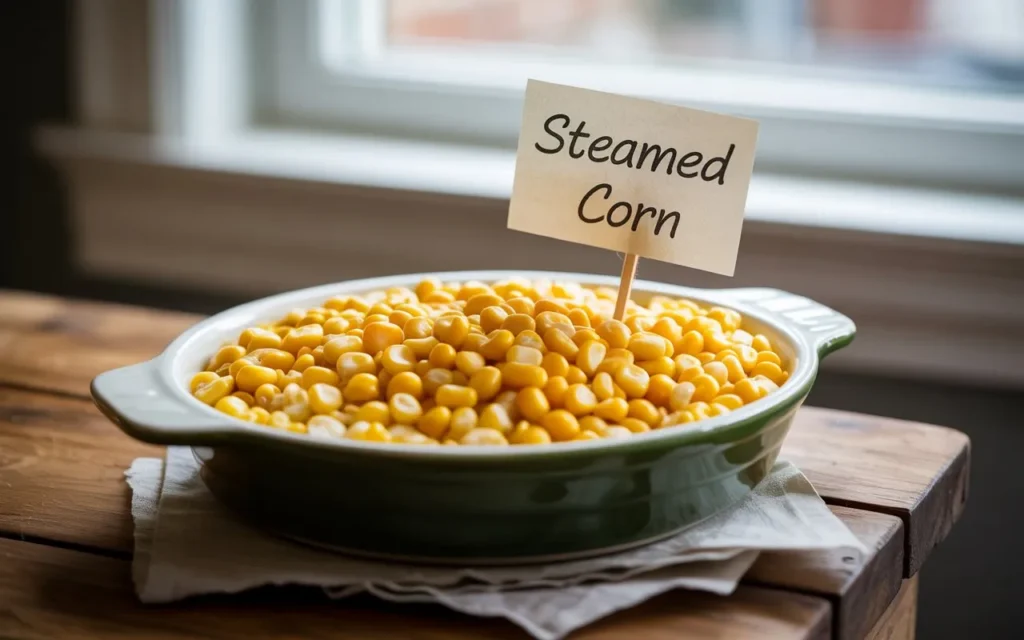
Here’s a step-by-step guide for the Steam in a Microwave-Safe Dish method—a simple, no-husk technique that uses steam to cook corn evenly while keeping it tender and juicy:
Steps to Steam Corn in a Microwave-Safe Dish 🌽
- Shuck and Prep
- Remove the husk and silk completely. Rinse the corn under water to remove any lingering silk.
- Add Water to the Dish
- Place the corn in a microwave-safe dish (like a glass casserole dish or deep plate).
- Pour ¼–½ cup of water into the dish (enough to create steam without submerging the corn).
- Cover to Trap Steam
- Use a microwave-safe lid, vented plastic wrap, or an inverted microwave-safe plate to cover the dish.
- Microwave
- Cook on high:
- 4–6 minutes per ear (e.g., 1 ear = 5 minutes, 2 ears = 8–10 minutes).
- Adjust time based on microwave wattage and corn size.
- Rest and Check Doneness
- Let the corn sit, covered, for 2 minutes to finish steaming.
- Test a kernel with a fork—it should be plump and tender.
- Drain and Season
- Carefully remove the lid (steam will escape—use oven mitts!).
- Drain any excess water. Brush with butter, salt, or your favorite seasoning.
Why This Works
- The water creates a steamy environment that cooks the corn evenly without drying it out.
- Ideal for shucked corn when you don’t have husks or paper towels handy.
Pro Tips
- Flavor boost: Add a pinch of salt, a bay leaf, or lemon slices to the water for infused flavor.
- Large cobs: Extend cooking time by 1–2 minutes if the corn is thick.
- No dish? Use a microwave-safe bowl and layer corn in a single row.
Common Questions ❓
- “Can I cook frozen corn this way?”
Yes! No need to thaw—add 1–2 minutes to the cooking time. - “What if my microwave isn’t powerful?”
Increase cooking time by 30–60 seconds per ear for microwaves under 1000W. - “Will the corn get soggy?”
No—steaming keeps it juicy but not waterlogged. Drain thoroughly after cooking.
Serving Ideas
- Herb butter: Mix softened butter with chopped dill, parsley, or chives.
- Spicy kick: Sprinkle with smoked paprika, cayenne, or tajín.
- Cheesy corn: Roll in grated Parmesan or cotija cheese after cooking.
Perfect for when you want hands-off, no-hassle corn with minimal cleanup! 🚀
7. Microwave-Safe Bag Method
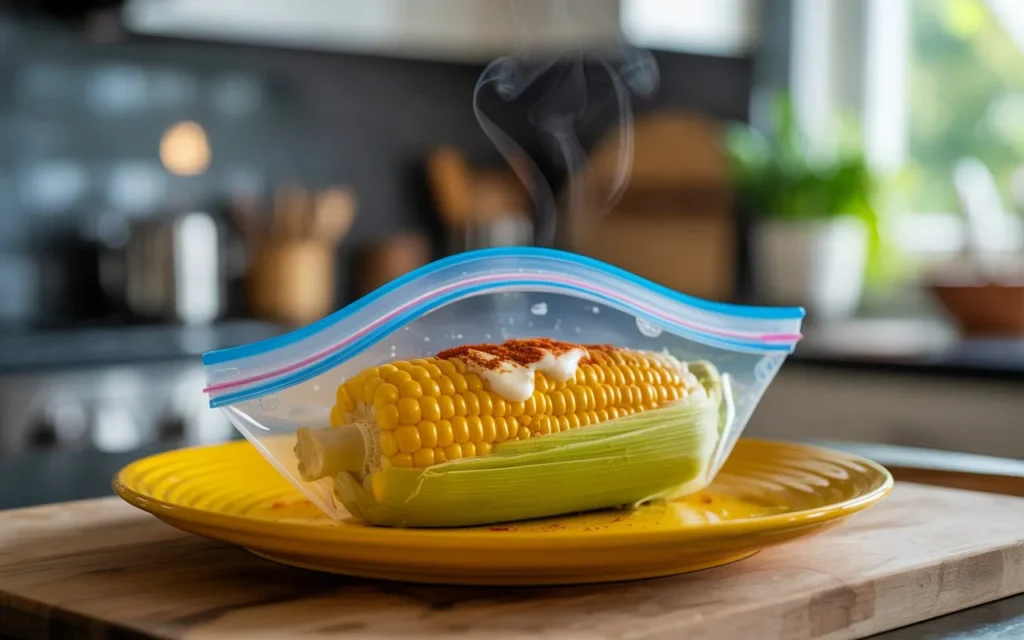
Here’s a step-by-step guide for the Microwave-Safe Bag Method—a convenient, no-mess way to steam corn on the cob using specialized microwave-safe bags (like reusable silicone or vented steam bags):
Steps to Microwave Corn in a Microwave-Safe Bag 🌽
- Shuck and Prep
- Remove husk and silk completely. Rinse the corn under water to ensure no silk remains.
- Add Corn to the Bag
- Place 1–2 ears of shucked corn into the microwave-safe bag.
- Pour 1–2 tablespoons of water into the bag to generate steam.
- Seal and Vent
- If using a vented bag: Seal according to manufacturer’s instructions (vents will release steam).
- If using a non-vented bag: Leave a small corner unsealed to allow steam to escape.
- Microwave
- Lay the bag flat on a microwave-safe plate.
- Cook on high:
- 3–4 minutes per ear (e.g., 1 ear = 4 minutes, 2 ears = 6–8 minutes).
- For larger ears, add 1–2 minutes.
- Rest and Open Carefully
- Let the bag sit in the microwave for 1–2 minutes to cool slightly.
- Use oven mitts to open the bag—hot steam will escape!
- Season and Serve
- Brush with butter, salt, pepper, or spices like smoked paprika or garlic powder.
Why This Works
- The bag traps steam efficiently, cooking the corn quickly while keeping it tender and juicy.
- Minimal cleanup—no pots, plates, or paper towels required!
Pro Tips
- Flavor infusion: Add a sprig of rosemary, a slice of lemon, or a pinch of salt to the water in the bag.
- Reusable bags: Silicone steam bags are eco-friendly and dishwasher-safe.
- Frozen corn: No need to thaw—cook for 5–7 minutes per ear.
Common Questions ❓
- “Can I use a regular plastic bag?”
No! Only use bags labeled microwave-safe to avoid melting or toxins. - “What if my bag doesn’t have vents?”
Leave a small opening or poke a tiny hole with a knife before microwaving. - “Can I cook more than 2 ears?”
Avoid overcrowding—cook in batches for even results.
Serving Ideas
- Honey-lime butter: Mix softened butter with honey, lime zest, and chili flakes.
- Everything bagel seasoning: Sprinkle with sesame seeds, garlic, and poppy seeds.
- Cilantro-lime: Toss cooked corn in lime juice and chopped cilantro.
Safety Notes
- Always check the bag’s microwave safety label.
- Never use thin plastic grocery bags or ziplock bags not rated for microwaving.
Perfect for quick, hands-off cooking with minimal cleanup—ideal for busy weeknights! 🚀
8. Elevated on a Microwave Rack
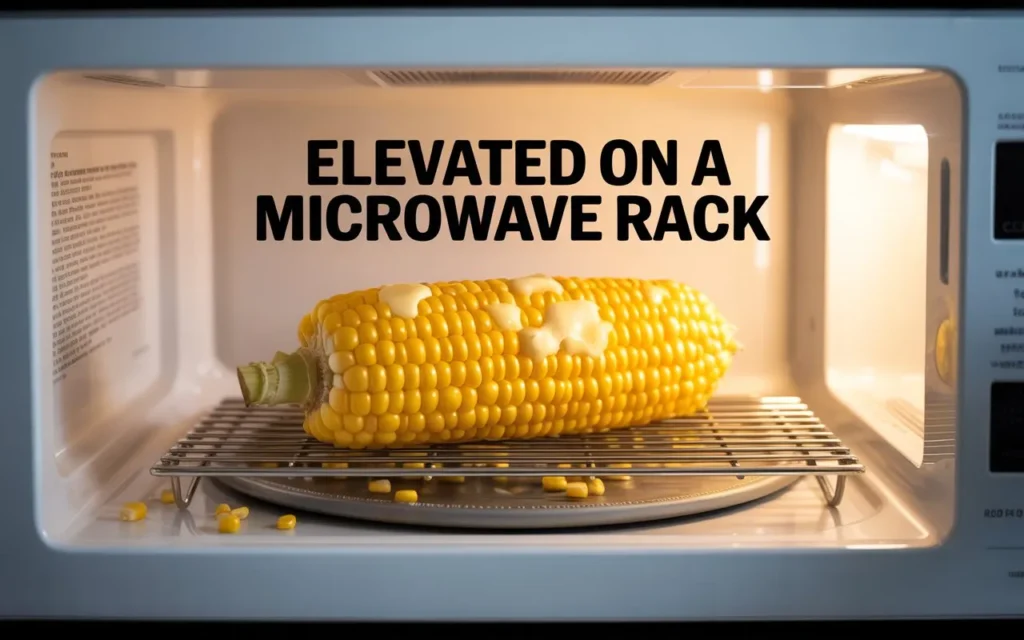
Here’s a step-by-step guide for the Elevated on a Microwave Rack method—a technique that uses airflow and elevation to cook corn evenly while avoiding sogginess:
Steps to Microwave Corn Elevated on a Rack 🌽
- Shuck and Prep
- Remove the husk and silk completely. Rinse the corn under water to ensure no silk remains.
- Set Up the Rack
- Place a microwave-safe rack (or a microwave-safe bowl flipped upside down) in the microwave.
- If you don’t have a rack, create a makeshift stand with a microwave-safe glass or silicone ring.
- Arrange the Corn
- Lay the shucked corn horizontally on the rack, spacing ears at least 1–2 inches apart for airflow.
- For stability, use microwave-safe corn holders (optional) to keep the ears from rolling.
- Microwave
- Cook on high:
- 3–4 minutes per ear (e.g., 1 ear = 4 minutes, 2 ears = 6–8 minutes).
- For large or thick ears, add 1–2 minutes.
- Rotate Midway (Optional)
- If your microwave lacks a turntable, pause halfway and rotate the corn 180° for even cooking.
- Rest and Test
- Let the corn sit for 1–2 minutes to finish cooking via residual heat.
- Check doneness: Kernels should feel tender when pressed.
- Season and Serve
- Brush with butter, salt, or spices like smoked paprika, garlic powder, or fresh herbs.
Why This Works
- Elevating the corn allows hot air and steam to circulate freely, preventing sogginess and ensuring even cooking.
- Ideal for microwaves with limited space or for cooks who prefer crispy-tender kernels.
Pro Tips
- No rack? Use a microwave-safe plate and prop the corn on a small microwave-safe bowl or rolled-up silicone trivet.
- Add moisture: Lightly spritz the corn with water before microwaving to prevent drying.
- Frozen corn: Cook for 5–7 minutes per ear directly from frozen (no thawing needed).
Common Questions ❓
- “Can I use metal racks?”
No! Only use microwave-safe materials like silicone, glass, or ceramic to avoid sparks. - “Why elevate the corn?”
Prevents steaming in pooled water, yielding firmer, less mushy kernels. - “What if my corn dries out?”
Cover loosely with a damp paper towel during cooking to retain moisture.
Serving Ideas
- Herb butter: Mix softened butter with chopped rosemary, thyme, or basil.
- Chili-lime: Squeeze fresh lime juice and sprinkle tajín or chili powder.
- Parmesan-pepper: Roll in grated Parmesan and cracked black pepper.
Safety Notes
- Use oven mitts to handle the rack and corn—they’ll be extremely hot!
- Avoid overcrowding to ensure proper airflow.
Perfect for achieving restaurant-style texture with minimal effort—no boiling or grilling required! 🚀
9. Rotate Midway for Even Cooking
Here’s a focused guide for the Rotate Midway for Even Cooking technique—a simple tweak to ensure perfectly cooked corn by countering microwave hot spots and uneven heating:
Steps to Rotate Corn Midway for Even Cooking 🌽
- Microwave Setup
- Cook corn using your preferred method (e.g., husk-on, damp towel wrap, or elevated rack).
- Start microwaving as usual, noting the total cooking time (e.g., 4 minutes per ear).
- Pause and Rotate
- At the halfway mark (e.g., 2 minutes for a 4-minute cook), carefully open the microwave.
- Using oven mitts or tongs, rotate the corn 180 degrees (flip it end-to-end).
- Resume Cooking
- Close the microwave and finish the remaining cook time.
- Check Doneness
- After resting, test a kernel for tenderness. If needed, microwave in 30-second increments.
Why This Works
- Microwaves often heat unevenly due to standing waves or turntable gaps. Rotating ensures all sides receive equal exposure.
- Critical for large ears, dense kernels, or weaker microwaves (under 1000W).
Pro Tips
- Use a turntable? Still rotate! Turntables spin horizontally but may miss vertical hot spots.
- Multi-ear batches: Swap positions of ears (move outer ones to the center) for even cooking.
- Add moisture: Spritz corn with water before rotating to refresh steam.
Common Questions ❓
- “Do I have to rotate?”
Not always—small, thin ears may cook evenly without it. But rotating guarantees consistency. - “Can I rotate frozen corn?”
Yes! Pause halfway, rotate, and add 1–2 minutes to total time. - “What if I forget to rotate?”
Extend cooking by 30–60 seconds and check for doneness.
Serving Ideas
- Compound butter: Mix softened butter with herbs, honey, or citrus zest after rotating.
- Spicy mayo: Brush with sriracha mayo and sprinkle sesame seeds post-cook.
Safety Notes
- Always use oven mitts—corn and dishes will be extremely hot after rotating.
- Avoid overcrowding to make rotation easier.
Perfect for perfectionists who want no undercooked spots on their corn! 🌟
10. Post-Cook Seasoning
Here’s a creative guide to Post-Cook Seasoning for corn on the cob—elevate your microwaved corn with bold flavors, textures, and global-inspired twists:
Why Post-Cook Seasoning Matters
- Fresh toppings cling better to hot kernels, maximizing flavor absorption.
- Customize to suit dietary preferences (vegan, spicy, cheesy, etc.).
- Transform simple corn into a gourmet side dish or snack!
Top Seasoning Ideas & Techniques 🌟
1. Classic Butter & Salt
- Brush with melted butter and sprinkle flaky sea salt.
- Pro Tip: Use compound butter (mix softened butter with herbs, garlic, honey, or citrus zest).
2. Cheesy Delights
- Parmesan-Pepper: Grated Parmesan + cracked black pepper.
- Elote-Style: Mayo, cotija cheese, chili powder, and lime juice.
- Nacho Corn: Melted cheddar, pickled jalapeños, and crushed tortilla chips.
3. Spicy & Smoky
- Tajín Twist: Lime juice + Tajín seasoning (chili-lime salt).
- BBQ Rub: Smoked paprika, brown sugar, and a dash of cayenne.
- Sriracha Mayo: Sriracha + mayo drizzle + sesame seeds.
4. Fresh Herbs & Citrus
- Herb Garden: Chopped cilantro, basil, or dill + lemon zest.
- Mediterranean: Olive oil, crumbled feta, and oregano.
- Lime & Chili: Lime wedges + chili flakes + cilantro.
5. Global Flavors
- Indian: Garam masala + chaat masala + chopped mint.
- Thai: Coconut milk glaze + lime + crushed peanuts.
- Japanese: Soy sauce + furikake (seaweed seasoning) + toasted sesame oil.
6. Sweet & Savory
- Honey Butter: Drizzle honey + cinnamon.
- Maple Bacon: Crumbled bacon + maple syrup + smoked salt.
- Truffle Oil: Luxe finish with truffle oil + grated Pecorino.
7. Crunchy Toppings
- Everything Bagel: Everything seasoning + cream cheese schmear.
- Nutty Crunch: Crushed pistachios or almonds + honey.
Pro Tips for Perfect Seasoning
- Timing: Season immediately after cooking while the corn is hot.
- Stick the Base: Brush with butter, mayo, or oil first to help toppings adhere.
- Layers: Add dry spices first, then wet ingredients (like sauces or cheese).
- Acidity Balance: A squeeze of lime or lemon brightens rich flavors.
Dietary Swaps
- Vegan: Use plant-based butter, vegan mayo, or coconut oil.
- Dairy-Free: Skip cheese—opt for nutritional yeast or tahini.
- Low-Sodium: Replace salt with lemon juice or herb blends.
Common Questions ❓
- “Can I season corn before microwaving?”
Yes (e.g., butter under husk), but post-cook seasoning offers fresher, bolder flavor. - “How to reheat seasoned corn?”
Microwave for 30–60 seconds, but add fresh toppings afterward. - “Best way to serve seasoned corn?”
Skewer with wooden sticks for easy handling, or slice into rounds for appetizers.
Serving Inspiration
- Party Platter: Mix and match flavors (e.g., elote, parmesan, and truffle).
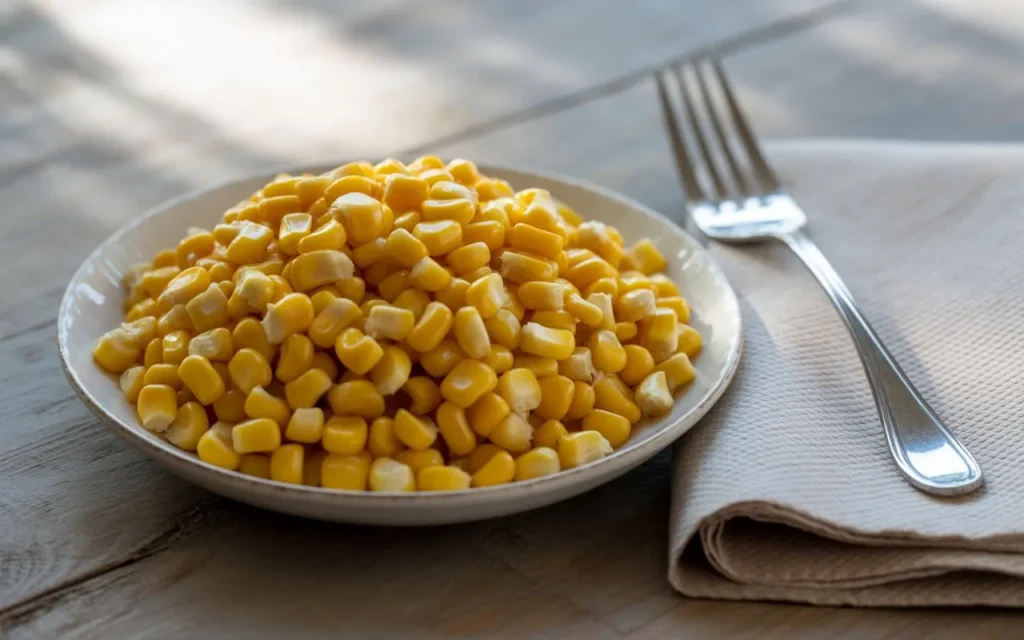
- Salad Topper: Slice kernels off the cob and toss into salads.
- Grill Finish: After seasoning, grill for 2–3 minutes for charred edges.
Experiment and have fun—corn is the ultimate blank canvas for flavor adventures! 🌽✨
General Tips:
- Microwave Power: Adjust time if under 1000W (add 30–60 seconds).
- Safety: Use oven mitts—corn gets very hot!
- Test Doneness: Kernels should be plump and tender.
Enjoy quick, juicy corn without firing up the stove! 🌽✨


Leave a Reply