Complete Guide To Make Pink Hot Chocolate Bombs At Home With Best Simple Variations
Published:
Updated:
Author:
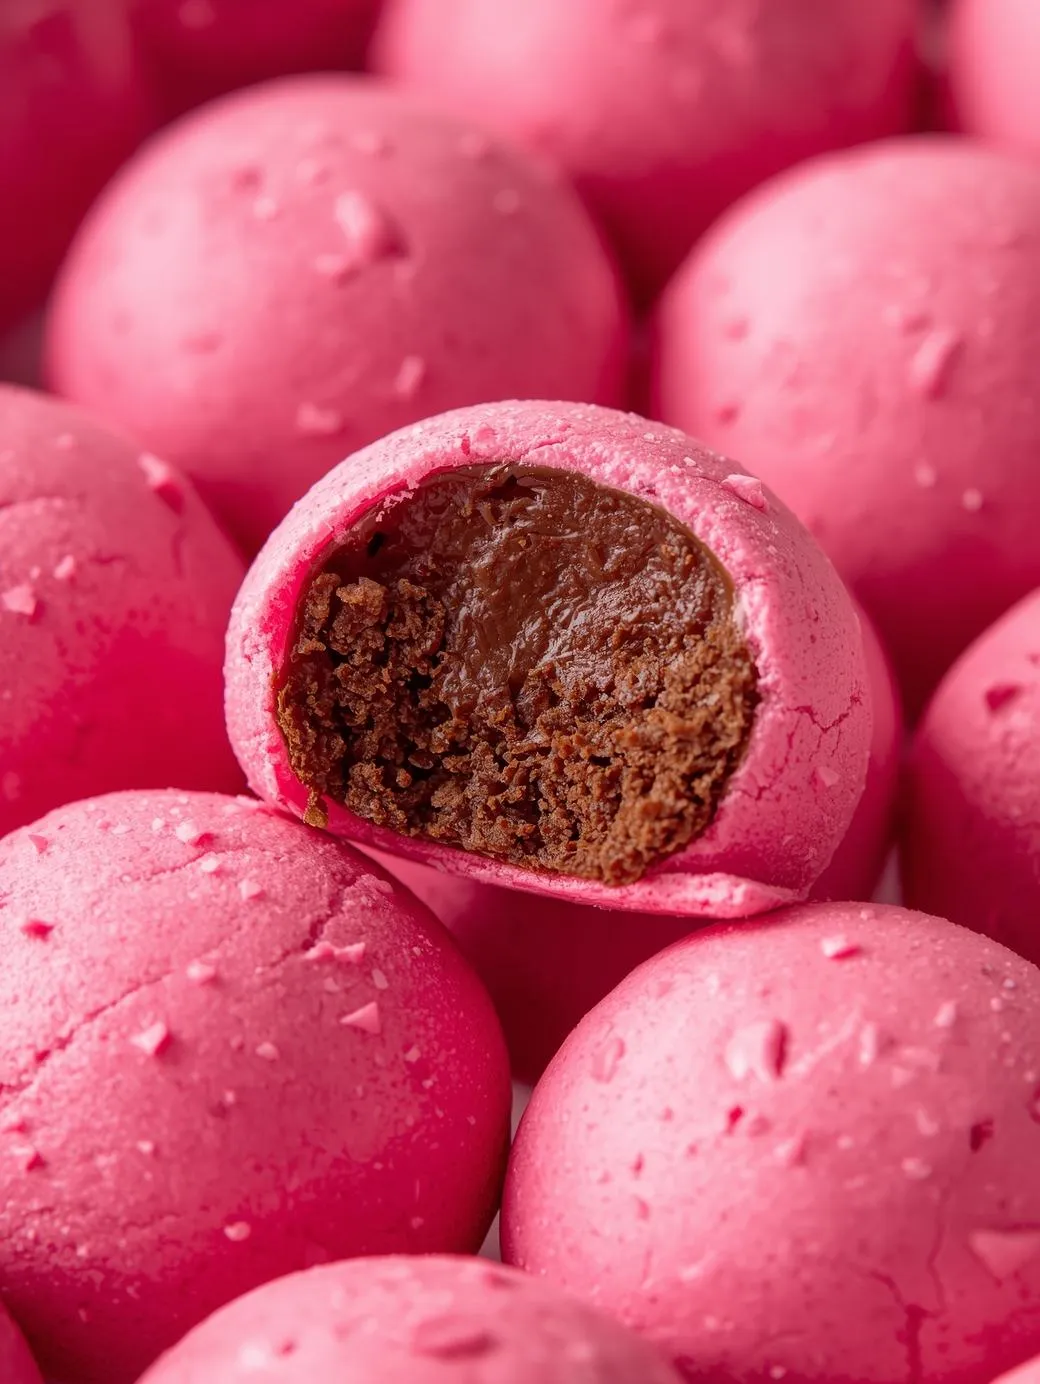
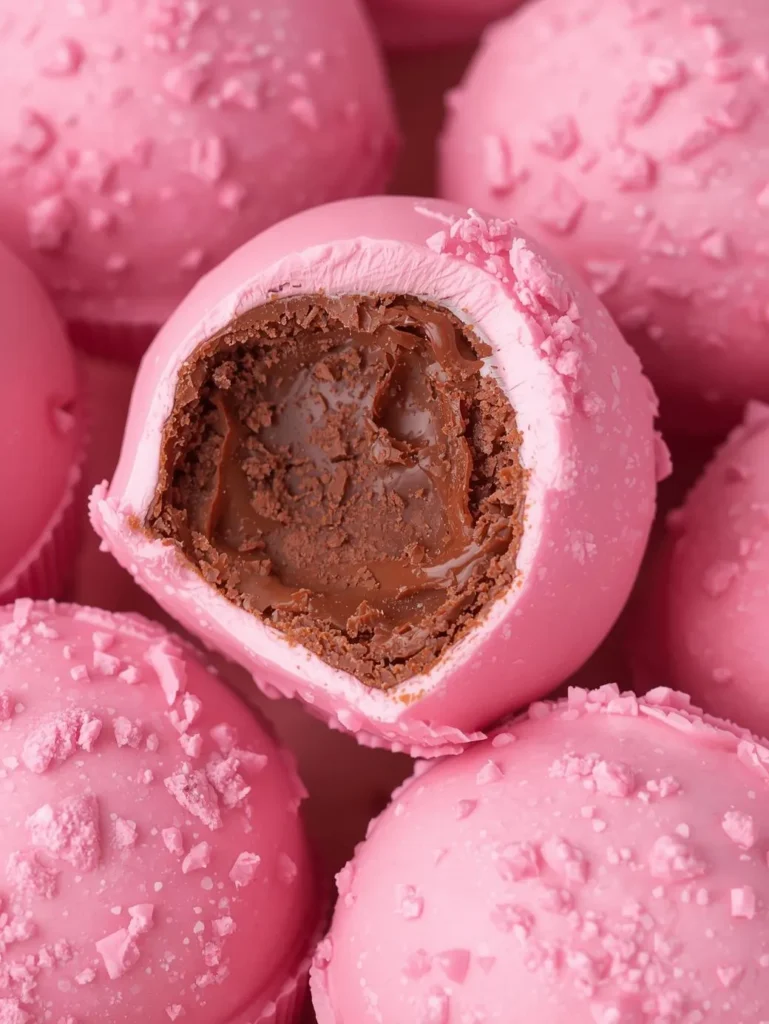
Pink Hot Chocolate Bombs are the cutest, most fun, and really easy to make at home, cozy treat! This pink hot chocolate bomb recipe guide will also take you step by step on how to make shiny chocolate shells, fill them with cocoa mix and marshmallows, and seal them to “pop” into a rich, pink hot chocolate when warm milk is poured atop. We will explore the best types of chocolate to use, inexpensive tools that make a world of difference, and the most common chocolate shell catastrophes (like cracks or messy seams) with how to fix them. You’ll also get yummy variations: strawberry, white chocolate, peppermint, ruby-chocolate style (I had to Google that one), and even a lighter version—each complete with full ingredients and step-by-step instructions. Whether you are making these for valentine day, parties, gift box, or just have a cozy night in, this guide will make sure you can get bakery style results without a hassle. These Pink Hot Chocolate Bombs are stunning but they taste even more amazing so you can stop here.
Why Pink Hot Chocolate Bombs Are So Popular
Hot chocolate bombs became popular because they combine two things people love:
- A “wow” moment—the shell melts and releases cocoa mix and marshmallows.
- A customizable dessert—you can change flavors, colors, toppings, and fillings endlessly.
Pink Hot Chocolate Bombs are extra viral because pink is perfect for:
- Valentine’s Day
- Baby showers
- Bridal showers
- Birthday parties
- Gift boxes and holiday treat bags
They also photograph beautifully. That glossy pink shell + drizzle + sprinkles = Pinterest gold.
What Exactly Is a Hot Chocolate Bomb?
A hot chocolate bomb is a hollow chocolate sphere (or dome pair) filled with:
- Hot cocoa mix (and sometimes flavored powders)
- Mini marshmallows
- Optional extras (sprinkles, candy pieces, edible glitter)
When you pour hot milk over the bomb, the chocolate melts and releases the filling. You stir, and it turns into a flavored hot chocolate.
Ingredients and Tools You’ll Need
Core Ingredients (Classic Pink Hot Chocolate Bombs)
For the shells
- 12 oz (340 g) melting wafers (white chocolate melts recommended)
- Pink oil-based or powder food coloring (important—see notes below)
For the filling (per bomb)
- 2 to 3 teaspoons hot cocoa mix (or white hot cocoa mix)
- 1 to 2 tablespoons mini marshmallows
For serving
- 8 to 10 oz hot milk per bomb (whole milk tastes richest)
Optional Decorating Ingredients
- White chocolate drizzle (melted wafers)
- Valentine sprinkles
- Crushed freeze-dried strawberries
- Edible glitter dust (optional)
- Pink sanding sugar (optional)
Tools (Highly Recommended)
- Silicone hot chocolate bomb mold (2.5–3 inch spheres) or half-sphere mold
- Microwave-safe bowl
- Spoon or small silicone spatula
- Food-safe gloves (helps keep shells shiny)
- Small plate or baking tray
- Parchment paper
- Warm skillet or warm plate (for sealing)
Choosing the Best Chocolate (This Matters)
For smooth, glossy shells that release cleanly from the mold, you want compound chocolate (melting wafers/candy melts). It’s designed to set firmly without tempering.
Best options:
- White candy melts (easy, stable, beginner-friendly)
- Compound white chocolate wafers (great shine and stability)
If you want to use real white chocolate:
You can, but you’ll need tempering, or shells may be soft, streaky, or melt too easily in your hands.
The #1 Coloring Rule (Avoid Seizing!)
Only use oil-based food coloring or powdered coloring with chocolate.
Water-based gel coloring can cause chocolate to seize (turn grainy and thick).
Best choices:
- Oil-based candy color (pink)
- Powder color (pink)
Step-by-Step: Classic Pink Hot Chocolate Bombs (Beginner-Friendly)
Yield
Makes about 6–8 bombs depending on mold size (and how thick you make shells).
Step 1: Melt the chocolate
- Add white melting wafers to a microwave-safe bowl.
- Microwave in 20–30 second bursts, stirring between each round.
- Stop as soon as it’s melted and smooth (overheating makes it thick).
- Add a tiny amount of pink oil-based color. Stir well until evenly pink.
Tip: If chocolate feels too thick, stir longer before reheating. If needed, warm for 10 seconds only.
Step 2: Create the shells
- Spoon melted chocolate into each half-sphere cavity.
- Use the back of the spoon to push chocolate up the sides.
- Flip the mold over a bowl (optional) to let extra chocolate drip out for thinner shells—then scrape the top clean.
- Chill 5–8 minutes in the fridge until set.
Step 3: Add a second coat (recommended)
A second coat prevents cracks.
- Add another thin layer of chocolate.
- Chill again 5–8 minutes until fully firm.
Step 4: Release shells from the mold
Carefully pop out each half-sphere.
Handle with gloves if possible to avoid fingerprints.
Step 5: Fill the bombs
In half of your shells, add:
- 2–3 tsp hot cocoa mix
- 1–2 tbsp mini marshmallows
Optional: sprinkles or strawberry powder.
Step 6: Seal the bombs
- Warm a skillet on low for 20–30 seconds, then turn off heat (or use a warm plate).
- Place an empty shell rim-side down for 1–2 seconds to slightly melt the edge.
- Quickly press it onto a filled half to seal.
Step 7: Decorate
- Drizzle with white chocolate
- Sprinkle toppings while drizzle is still wet
Step 8: Serve
- Place 1 bomb in a mug.
- Pour hot milk over it (not boiling—steaming hot is perfect).
- Watch it melt, then stir.
Pro Tips for Perfect Results
- Double coat your shells to prevent cracking.
- Don’t chill too long or silicone molds can “sweat,” causing dull spots.
- If shells crack, patch with a little melted chocolate like “glue.”
- Use hot milk, not water, for the best flavor.
- For gifts, place each bomb in a cupcake liner and seal in a treat bag.
Variations (Each With Full Ingredients + Instructions)
1: Strawberry Pink Hot Chocolate Bombs
Flavor vibe: Strawberry cream + cocoa
Ingredients (for 6 bombs)
Shells
- 12 oz white melting wafers
- Pink oil-based/powder coloring
Filling (per bomb)
- 1½ tsp white hot cocoa mix (or regular cocoa mix)
- ½ to 1 tsp freeze-dried strawberry powder
- 1–2 tbsp mini marshmallows
Optional topping
- Crushed freeze-dried strawberries
- White chocolate drizzle
Instructions
- Make pink shells exactly like the classic method (double coat).
- Mix cocoa powder + strawberry powder together before filling.
- Fill half shells with the cocoa-strawberry mix and marshmallows.
- Seal using warm-plate method.
- Drizzle and sprinkle crushed strawberry pieces.
Serving tip: Best with hot milk + a tiny splash of vanilla.
2: Pink Vanilla “White Cocoa” Bombs (Kid Favorite)
Flavor vibe: Sweet vanilla milk cocoa
Ingredients
Shells
- White melting wafers + pink color
Filling (per bomb)
- 2 tsp white hot cocoa mix
- ¼ tsp vanilla bean powder (optional) OR ⅛ tsp vanilla extract powder
- Mini marshmallows
Toppings
- Pink sprinkles
- White chocolate drizzle
Instructions
- Prepare shells (double coat).
- In a small bowl, mix white cocoa mix with vanilla powder.
- Fill shells, seal, decorate.
Taste note: This one tastes like a creamy vanilla hot chocolate.
3: Peppermint Pink Hot Chocolate Bombs
Flavor vibe: Mint + chocolate (holiday OR Valentine twist)
Ingredients
Shells
- White melting wafers + pink color
Filling (per bomb)
- 2 tsp hot cocoa mix
- 1 tbsp mini marshmallows
- ¼ tsp crushed peppermint candy OR peppermint chips
Toppings
- White chocolate drizzle
- Crushed peppermint
Instructions
- Make and set shells.
- Add cocoa mix + marshmallows + peppermint pieces.
- Seal and decorate with a peppermint sprinkle.
Important: Don’t add too much peppermint or it becomes sharp.
4: “Ruby-Style” Pink Chocolate Bombs (No Ruby Chocolate Needed)
Flavor vibe: Berry-tangy pink shell + cocoa center
Ingredients
Shells
- White melting wafers
- Pink coloring
- 1–2 tsp freeze-dried raspberry or strawberry powder (optional for tang)
Filling (per bomb)
- 2 tsp hot cocoa mix
- Mini marshmallows
Toppings
- Berry powder dust + drizzle
Instructions
- Melt wafers, then stir in pink coloring.
- Add berry powder to chocolate for a subtle fruity tang (optional).
- Mold shells, double coat, fill, seal, decorate.
5: Cookies & Cream Pink Bombs
Flavor vibe: Oreo-style hot cocoa
Ingredients
Shells
- Pink shells (classic)
Filling (per bomb)
- 1½ tsp hot cocoa mix
- 1 tsp crushed chocolate sandwich cookies (very finely crushed)
- Mini marshmallows (optional)
Topping
- Cookie crumbs
- White drizzle
Instructions
- Make shells.
- Add cocoa + fine cookie crumbs (fine matters so it dissolves).
- Seal and decorate with cookie crumb sprinkle.
6: “Lighter” Pink Hot Chocolate Bombs (Less Sweet Option)
Flavor vibe: Still fun, less sugary
Ingredients
Shells
- Use thinner shells (still double coat but very thin)
- Pink colored white melting wafers
Filling (per bomb)
- 1½ tsp unsweetened cocoa powder + 1 tsp powdered sugar (adjust)
- Pinch of salt
- Optional: ¼ tsp beetroot powder (for pink tone)
- Few mini marshmallows OR skip marshmallows
Instructions
- Make very thin shells (two very thin layers).
- Mix cocoa + powdered sugar + salt (and beet powder if using).
- Fill lightly, seal, minimal decorations.
Serving tip: Use warm milk and sweeten in the mug if needed.
Storage and Make-Ahead Tips
- Store bombs in an airtight container in a cool, dry place for up to 2 weeks (best texture in the first week).
- Avoid the fridge long-term (can cause condensation and dull shells).
- For gifting, wrap individually in plastic treat bags and store cool.
Common Problems and Fixes
Shells cracking
- Cause: too thin or unmolding too soon
- Fix: double coat and chill until firm.
Chocolate won’t release from mold
- Cause: not set enough or mold too warm
- Fix: chill a few more minutes; gently peel silicone away.
Seams look messy
- Fix: drizzle chocolate over seam + sprinkles to hide it.
Chocolate seized while coloring
- Cause: water-based coloring
- Fix: start over using oil-based/powder color.
FAQ
1) What milk is best for hot chocolate bombs?
Whole milk is creamiest. Oat milk also works well. Avoid water if you want rich flavor.
2) Do I need a sphere mold?
A silicone half-sphere mold makes it easiest. You can also use dome molds. (A full sphere mold is less common and harder.)
3) Can I use chocolate chips instead of candy melts?
You can, but the shells may be softer unless you temper real chocolate. Candy melts are more reliable.
4) How hot should the milk be?
Steaming hot is perfect (hot but not violently boiling). Boiling milk can scorch and may melt the bomb too fast.
5) Why are my shells dull?
Condensation from the fridge or handling with warm hands can dull chocolate. Chill briefly and use gloves when possible.
6) How much cocoa mix goes in each bomb?
Usually 2–3 teaspoons per bomb. If your mold is larger, you can use up to 1 tablespoon.
7) Can I make them without marshmallows?
Yes. You can replace marshmallows with sprinkles, crushed candy, or leave them out.
8) Are these good for parties and gifting?
Yes—wrap individually and add a small tag: “Place in mug + pour 8–10 oz hot milk + stir.”
Final Thought
Hot Chocolate Bombs are one of the quickest and most Eye-catching desserts to make from the comfort of your own home; Hot Chocolate Bombs are a Hot commodity as of late. Melted chocolate silky smooth, double-coated shells, and its fast sealing and endless flavor potentials make things viable for holidays, gifts, and whatever goes viral on Pinterest next. Make the classic first, then in your next batch try strawberry or peppermint! The information contained in this guide will enable your bombs to have a nice shine, seal nicely, and melt beautifully every time!
Leave a Reply